
Introduction
Ever wonder how a busy restaurant kitchen delivers food with such intense, complex flavor? The secret isn’t magic—it’s high-heat mastery and ruthless efficiency. Welcome to The Chop & Char Method, where we trade hours of slow cooking for minutes of intense, flavor-forging heat. Today, we’re weaponizing a surprising pantry staple: Dr Pepper. This isn’t a child’s soda pop; this is the foundation for a Dirty Dr Pepper glaze that exemplifies our philosophy. We’re transforming sugar and spice into a smoky, sticky, char-loving crust that clings to proteins and vegetables alike, proving that restaurant-quality depth is just a blistering pan away.
This Dirty Dr Pepper technique is your new high-heat secret weapon. It builds on core Chop & Char principles like the Perfect Air Fryer Chicken Thighs for speed and the Perfect Chili Garlic Crispy Tofu for texture. To achieve the perfect balance of sweet, smoky, and spicy, the quality of your syrup matters. For a pro-grade tropical twist, a product like Monin Coconut Syrup can elevate the glaze. And just as precision matters in audio engineering—as discussed in this thread on useful mixing techniques—layering flavors with precision is key in the searing-hot kitchen.
Why Dirty Dr Pepper is a Game-Changer for Busy Kitchens
The modern cook faces a brutal paradox: crave gourmet flavor, possess zero time. The solution isn’t a slower cooker; it’s a hotter pan. The Dirty Dr Pepper glaze solves this by leveraging the “Char” half of our method. The high sugar and spice content in the soda caramelizes and burns in the best way possible under intense heat, creating a complex flavor profile of toasted vanilla, bitter cherry, and smoky chili that would normally take hours to develop. The “Chop” is in the minimal, rapid prep—this is a sauce built for speed, designed to be reduced and transformed in the time it takes to get a cast-iron skillet screaming hot.
The Science Behind Your New Favorite Dirty Dr Pepper Glaze
This isn’t cooking; it’s edible chemistry. The Dirty Dr Pepper reduction is a masterclass in the Maillard reaction and caramelization. The sugars (sucrose, fructose) in the soda break down, browning and creating hundreds of new flavor compounds. The phosphoric acid present in Dr Pepper not only adds a tangy backbone but also helps balance the sweetness, preventing the glaze from becoming cloying. When this reduced, sticky syrup hits a protein searing at 400°F+, it flash-sets, creating a glass-like, flavorful crust that locks in juices. It’s efficiency through science.
Ingredients for the Ultimate Dirty Dr Pepper
Precision in selection leads to speed in execution. Here’s your arsenal for the ultimate Dirty Dr Pepper experience.
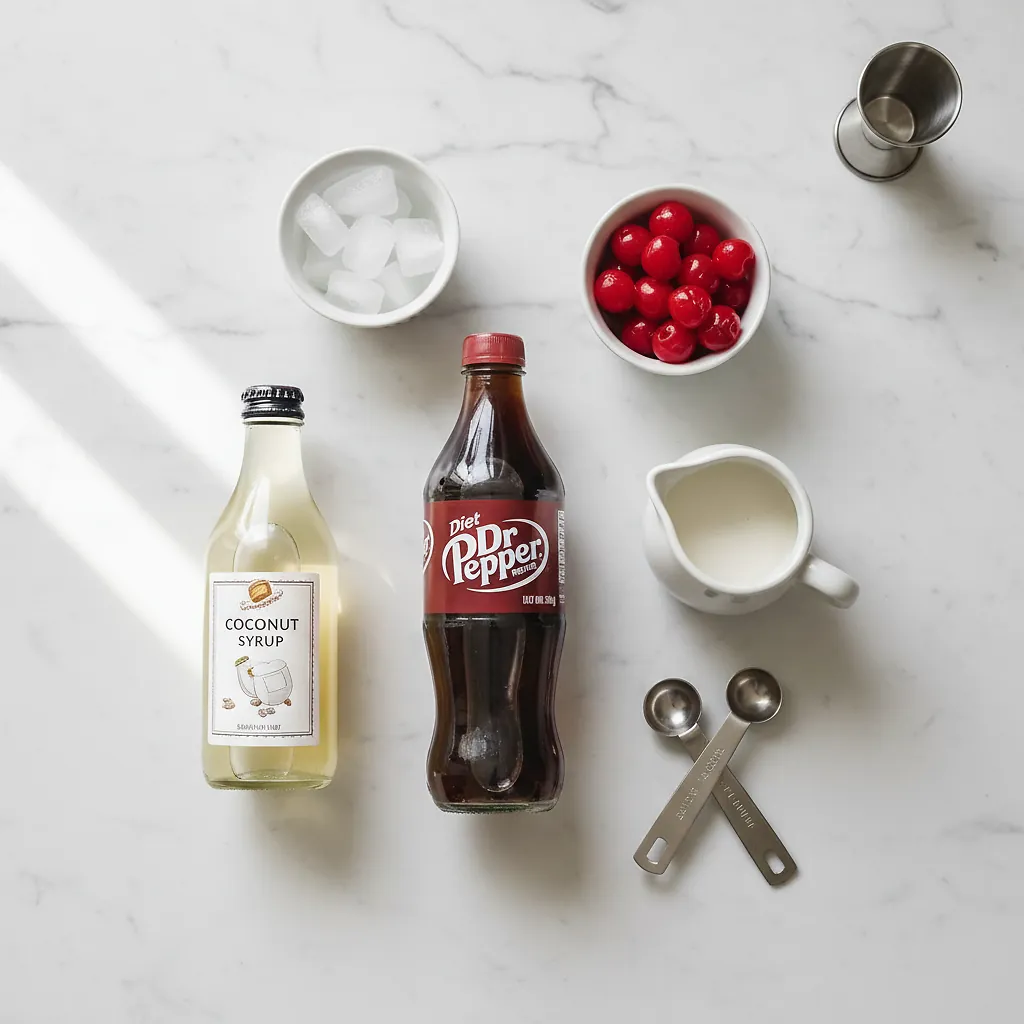
- The Foundation: 2 cups Dr Pepper (NOT diet—we need real sugar for caramelization).
- The Aromatics (The Chop): 1 small yellow onion, fine brunoise (1/8-inch dice). 3 garlic cloves, microplaned or minced into a paste. This fine prep maximizes surface area for faster softening and flavor release.
- The Heat & Smoke: 1 tbsp apple cider vinegar. 2 tsp smoked paprika. 1 tsp chili powder (choose ancho for depth or cayenne for punch). 1/2 tsp freshly cracked black pepper.
- The Pro-Grade Finish: 1 tbsp Worcestershire sauce. 1 tbsp neutral high-smoke-point oil (grapeseed, avocado). Kosher salt.
- Accessibility Note: Pro-grade means microplaned garlic for instantaneous flavor fusion. Supermarket alternative: use the finest mince you can manage. The goal is to avoid large chunks that won’t integrate into the slick glaze.
The Science of the Sear: Why This Works
High heat doesn’t just cook; it transforms. Reducing the Dirty Dr Pepper mixture rapidly evaporates water, concentrating flavors and encouraging sugar molecules to cross-link and brown. When you apply this glaze during the last 90 seconds of searing a chicken thigh or pork chop, you’re essentially varnishing the meat with flavor. The intense pan heat (425°F+) causes the sugars to seize and harden slightly, creating a textured crust that contrasts beautifully with tender meat. This is The Chop & Char timing perfected: rapid reduction, then immediate, high-intensity application.
Chef Jax’s Pro Secret: For an unmatched sticky-savory depth, add a teaspoon of fish sauce to the reduction. It won’t taste fishy; it will dissolve into the mix, adding a profound umami backbone that makes the sweet and smoky notes pop even harder. It’s the invisible flavor amplifier.
Timing Breakdown: The Chop & Char Method
Prep Time (The Chop): 5 minutes – This is your mise en place: dicing, mincing, measuring. Efficiency here sets the pace.
Cook Time (The Char): 10-12 minutes – This is active, high-heat reduction and application.
Total Time: 15-17 minutes.
Serves: Glaze for 4-6 proteins or vegetable portions.
The philosophy is the 60-second “Flash Prep”: have your protein seasoned and patted dry, your pan preheating, and your Dirty Dr Pepper reduction components measured and ready to go. Synchronization is the unsung skill of high-heat cooking.
Step-by-Step Instructions
Step 1: The Chop [Mise en Place]
Dice the onion into a precise 1/8-inch brunoise. Microplane or mince the garlic into a fine paste. Measure all other ingredients. This entire step should be a focused 5-minute operation. Common Mistake: Rushing and leaving onion pieces too large; they won’t soften properly in the quick reduction, leaving unpleasant texture.
Step 2: The Char [The Reduction]
In a saucepan (not your searing pan yet), heat the oil over medium-high. Add the brunoised onion, a pinch of salt, and sauté for 90 seconds until just translucent. Add the garlic paste and bloom for 30 seconds until fragrant. Immediately pour in the Dr Pepper, vinegar, Worcestershire, smoked paprika, chili powder, and black pepper. Stir to combine.
Step 3: The Char [The Boil & Set]
Crank the heat to high. Bring the mixture to a violent, rolling boil. Do not stir frequently. Allow it to reduce by half, which should take 6-8 minutes. It will thicken slightly and become syrupy. It’s ready when it coats the back of a spoon. Heat Management: Maintain the high boil; lowering the heat will stew the ingredients instead of intensifying them.
Step 4: The Char [The Application]
This is the critical moment. Have your seared protein (e.g., chicken, pork, cauliflower steak) in its screaming-hot pan. Spoon or brush a layer of the reduced Dirty Dr Pepper glaze onto the presentation side. Let it cook untouched for 60-90 seconds. The glaze will bubble, smoke, and set into a gorgeous, dark lacquer. Flip, glaze the other side if desired, and remove from heat.
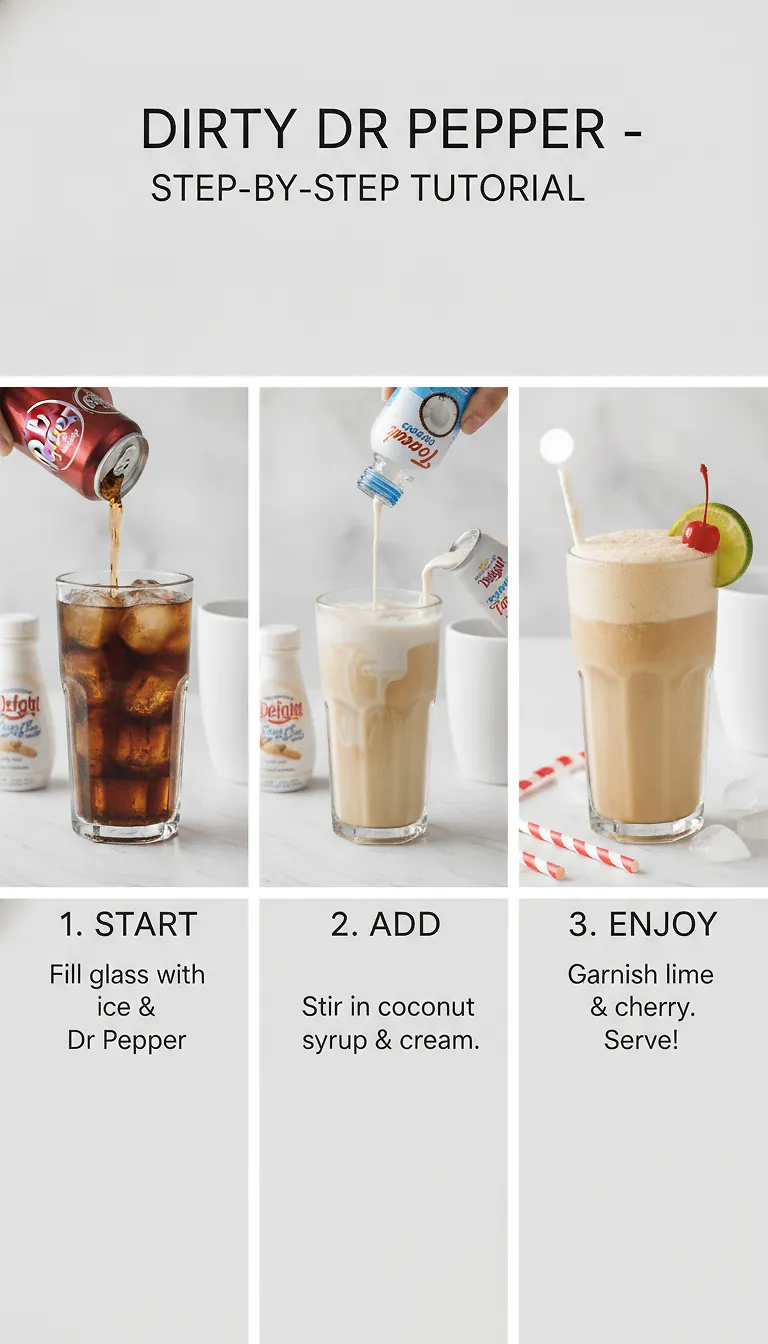
Pro Tips for Achieving the Perfect Char
Surface Moisture Control: Pat your protein DRY before seasoning. Any surface water creates steam, which prevents the Dirty Dr Pepper glaze from adhering and forming a proper crust.
Pan Temperature Benchmark: Your pan is ready for the glaze application when a few drops of water danced across the surface evaporate instantly. For the reduction, a rolling boil is non-negotiable.
Knife Angle for Faster Prep: When brunoising the onion, use a sharp chef’s knife and employ a gentle “claw” grip. A 15-degree angle on your rock-chop motion increases efficiency and safety.
Carry-Over Cooking Awareness: Remember, the glazed protein continues to cook after leaving the pan. Pull it from the heat just before it reaches your desired final internal temperature.
Resting Period Importance: Let the glazed protein rest for 3-5 minutes after the final char. This allows the juices to redistribute, ensuring the intense flavor of the Dirty Dr Pepper crust is in every bite.
Behind the Recipe: Chef Jax’s Kitchen Notes
This Dirty Dr Pepper concept was born from necessity during a slammed dinner service. We needed a quick-glaze option for wings that had more complexity than standard BBQ. The bottle of soda was a Hail Mary. The rapid reduction in a scorching hot pan unlocked flavors we didn’t expect—deep molasses, a hint of amaretto, a spicy finish. It was a perfect example of The Chop & Char lifestyle: using high-heat technique to force maximum flavor from simple ingredients in minimum time. It’s about working smarter, not longer.
Perfect Pairings & Signature Dips
The boldness of a Dirty Dr Pepper glaze demands sides that offer texture and cooling contrast. Serve alongside a crisp, vinegar-based slaw or grilled corn with chili lime salt. For a dipping sauce, thin a small amount of the leftover glaze with a touch of extra vinegar and Greek yogurt for a creamy, spicy-sweet accompaniment. For a non-alcoholic pairing, pour a chilled ginger brew or a sparkling water infused with grilled lemon and rosemary to cut through the richness.
Frequently Asked Questions
Q: Can I use this Dirty Dr Pepper glaze on something other than meat?
A: Absolutely. It’s spectacular on high-heat roasted vegetables like cauliflower, carrots, or Brussels sprouts. Just apply during the last few minutes of roasting to avoid burning.
Q: How do I store leftover Dirty Dr Pepper glaze?
A: Cool completely and store in an airtight container in the refrigerator for up to one week. Reheat gently before using.
Q: My Dirty Dr Pepper glaze burned slightly. Can I save it?
A: If it’s lightly scorched, strain it through a fine-mesh sieve to remove any bitter bits. If it’s deeply burned, start over. Control your heat!
Q: What’s the best pan for applying the final Dirty Dr Pepper char?
A: A well-seasoned cast-iron skillet or heavy-gauge carbon steel pan is ideal. They retain intense, even heat necessary for that perfect setting of the glaze.
Q: Can I make a big batch of Dirty Dr Pepper glaze for meal prep?
A> Yes, but for optimal flavor, apply it fresh during the high-heat searing step. Pre-glazing can lead to a soggy crust as the sugar draws moisture to the surface.
Conclusion
This Dirty Dr Pepper technique proves a core Chop & Char tenet: restaurant-quality flavor doesn’t require hours of slow simmering. It demands understanding how high heat transforms simple ingredients into complex experiences. By mastering the rapid reduction and the final, fiery application, you’ve added a powerful, fast-acting flavor weapon to your arsenal.
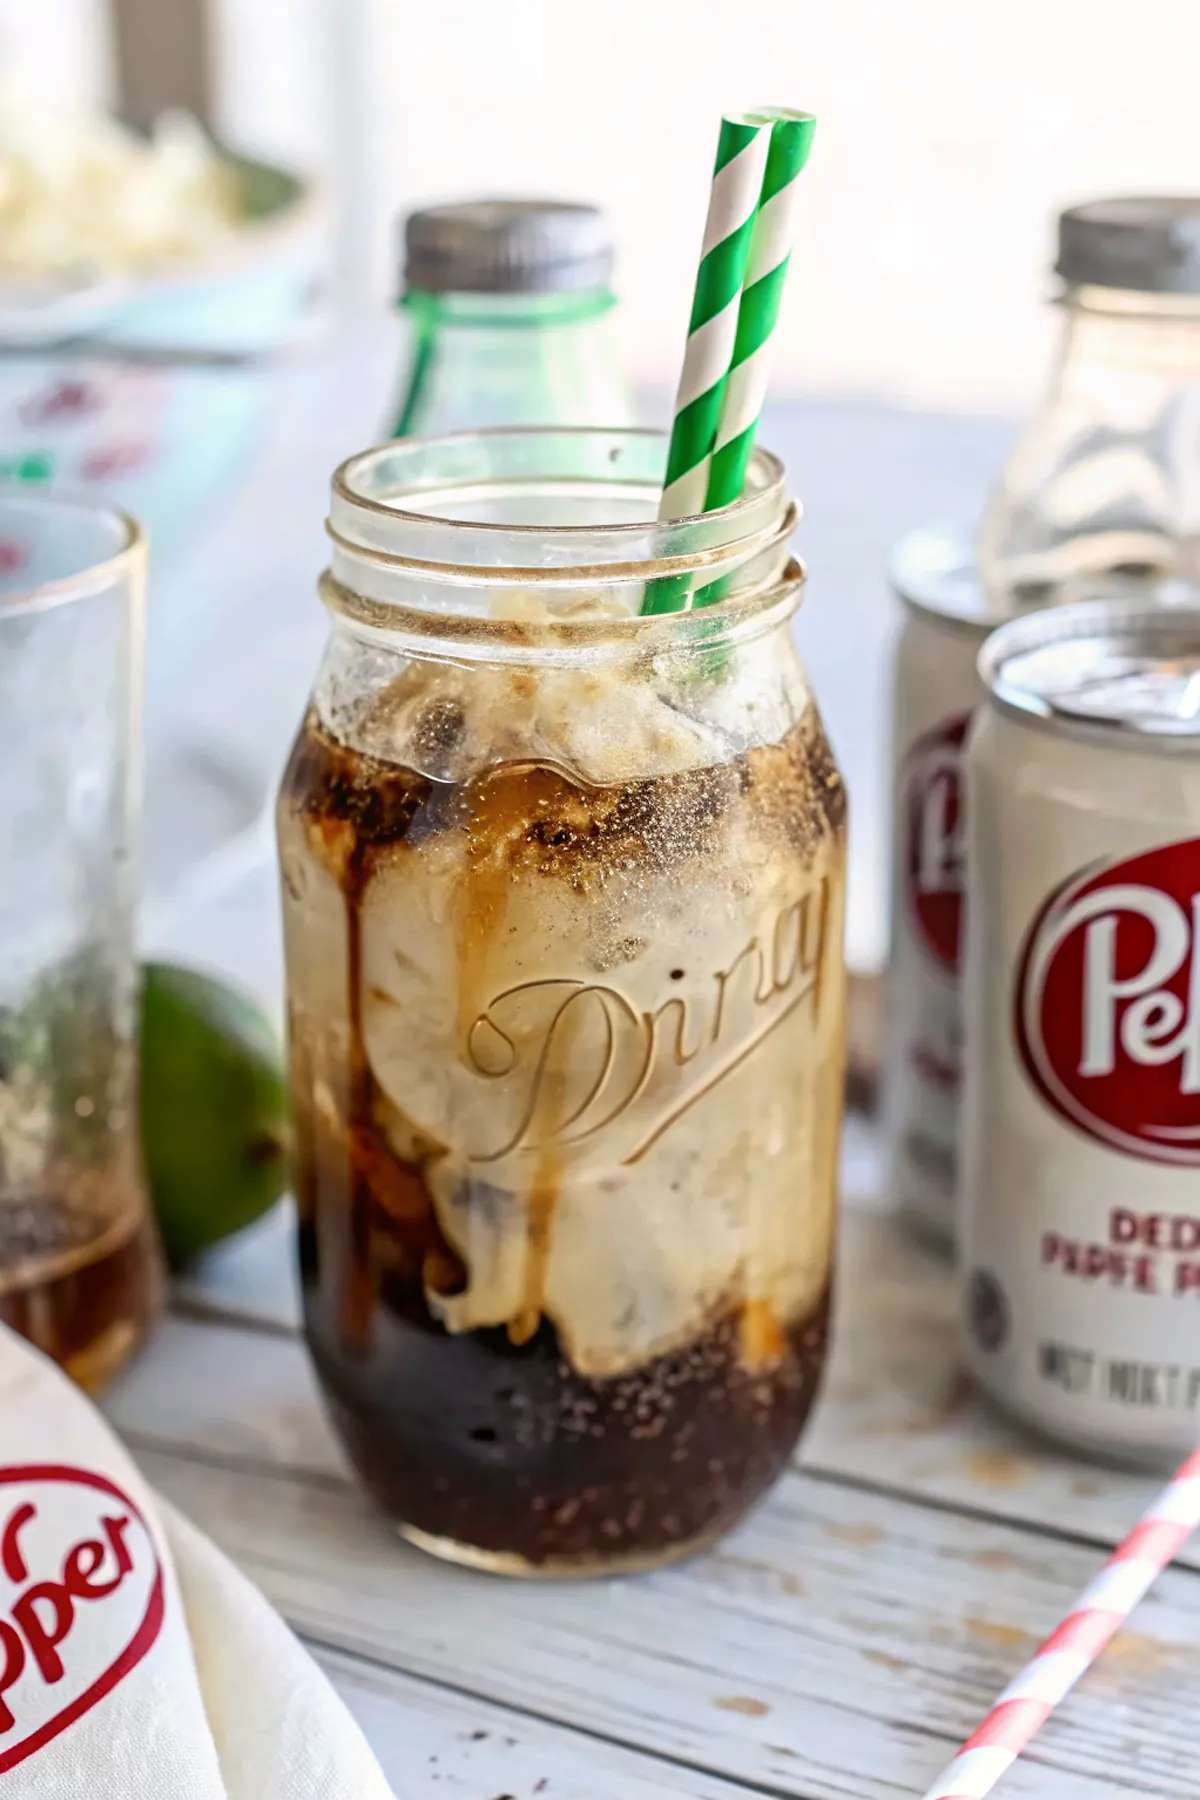
Mastered the Char? Share your kitchen success story in the comments, rate the recipe, and tag us on Instagram and TikTok with #ChopAndChar — Chef Jax might feature your masterpiece in our community spotlight! #TheChar #TheChop #ChefJax #HighHeatCooking #15MinuteMeals #GrillMaster
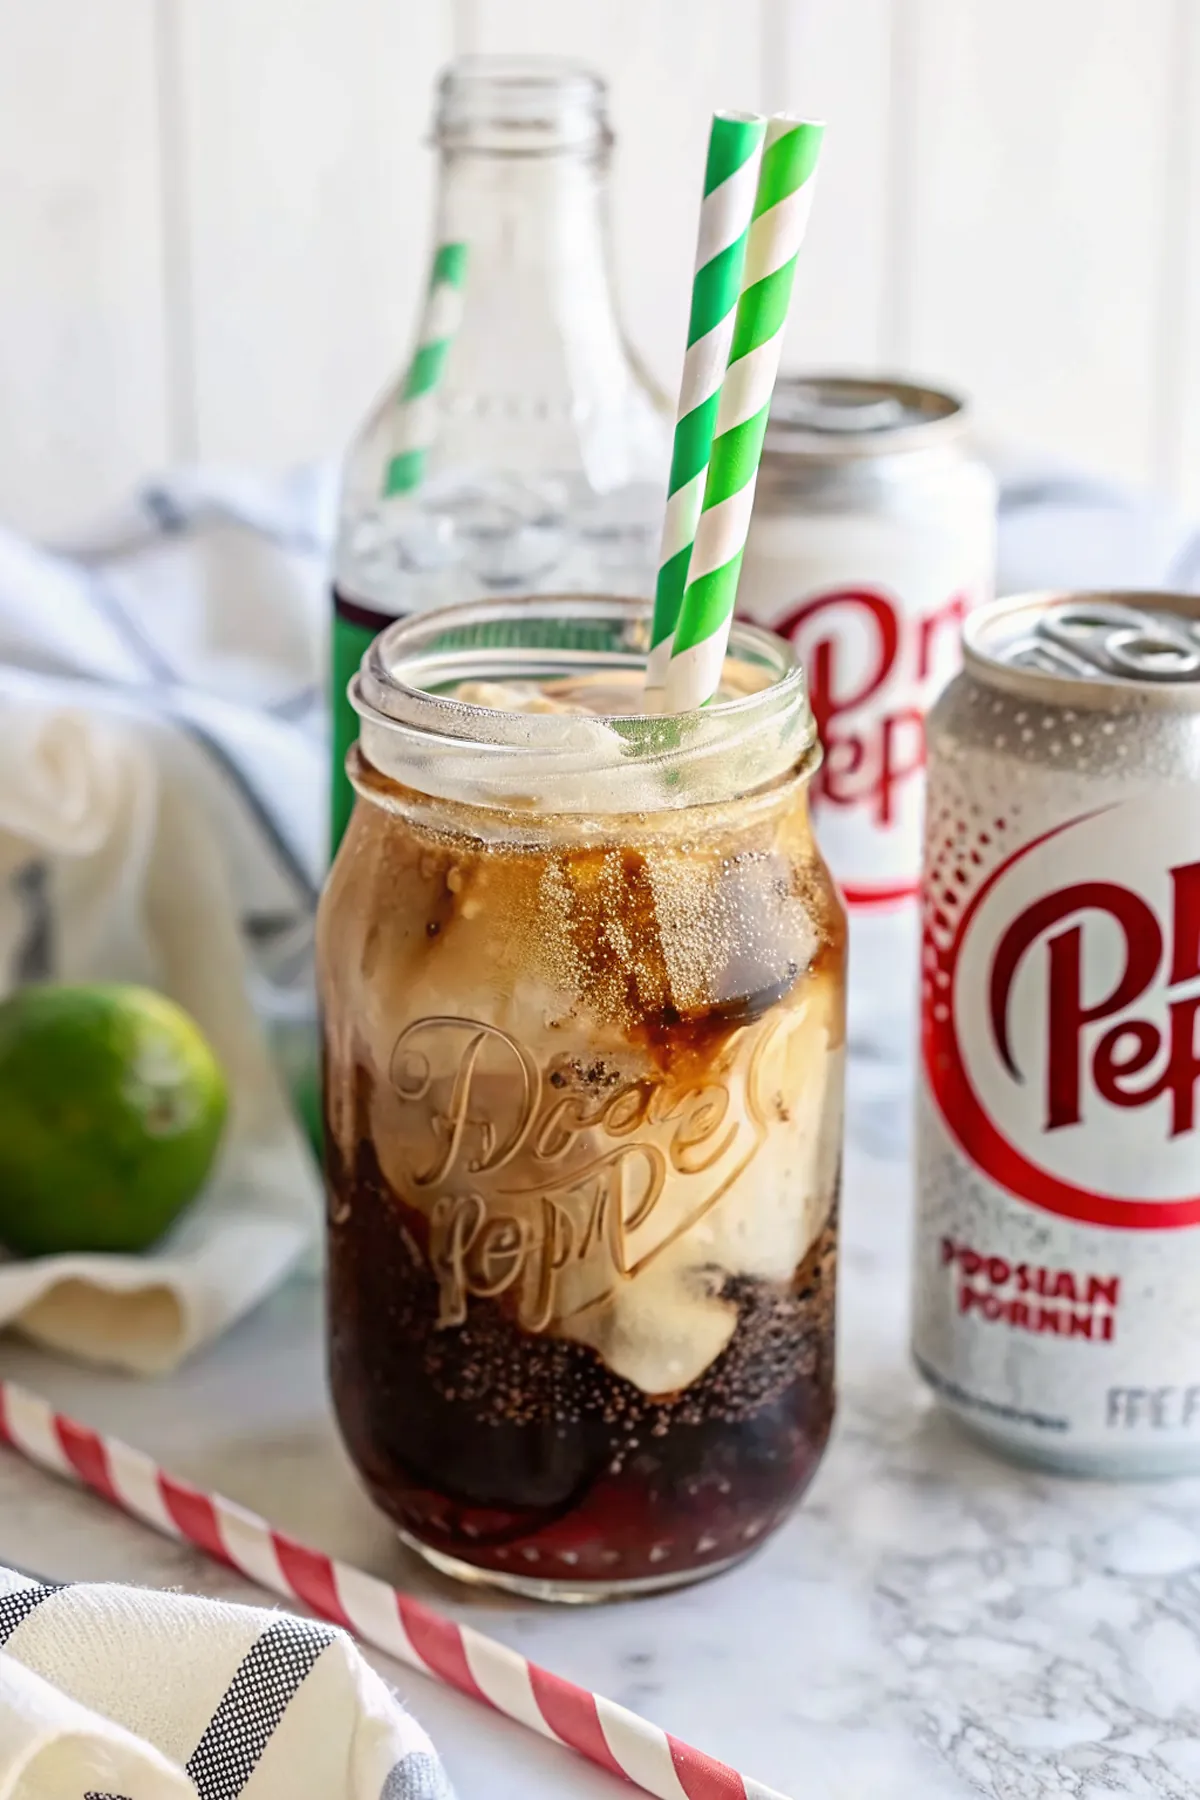
Dirty Dr Pepper
Ingredients
Instructions
- Step 1: Fill a glass with ice: Fill a highball glass with ice to chill and prepare it for the ingredients.
- Step 2: Add Dr Pepper and coconut rum: Pour in one can of Dr Pepper and add one shot of coconut rum.
- Step 3: Add pineapple juice and grenadine: Add 1/2 cup of pineapple juice and a splash of grenadine to the mix.
- Step 4: Stir and serve: Stir well and serve immediately to enjoy your Dirty Dr Pepper.